
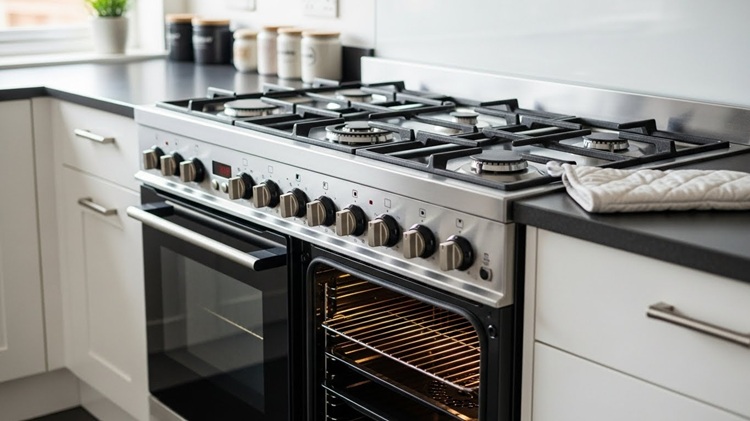

Let’s be honest: that oven you’ve been avoiding for months isn’t going to clean itself. Between the burnt-on cheese and the mysterious black spots, it’s probably looking rather sorry for itself. And your hob isn’t faring much better either.
The problem is that landlords spot these things immediately. A layer of baked-on grease or a few neglected burnt rings can lead to end-of-tenancy cleaning charges you’d much rather avoid.
Fortunately, restoring these appliances does not require extraordinary effort. With a sensible cleaning plan and a little patience, you can bring them back to a condition that comfortably passes inspection.
Table of Contents
Why the Oven and Hob Need Extra Attention
Ovens and hobs endure daily use, which means grease, oil, and food residue build up very quickly. The longer spills and splatters sit, the harder they become to remove.
Inside the oven, small drips turn into carbonised patches that cling stubbornly to the metal. On the hob, grease bakes into a hard crust that dulls the surface and traps smells.
A dirty oven can produce smoke, fill the kitchen with unpleasant odours, and give the impression of general neglect—none of which helps when your landlord is conducting a final walkthrough.
These appliances fall squarely under standard end-of-tenancy expectations, so giving them extra attention is one of the most reliable ways to protect your deposit.
Give Your Oven a Thorough Clean
Begin by clearing out loose debris such as burnt crumbs or bits of dried food. Removing this makes the deep clean far easier.
Once the oven is empty and swept out, choose the cleaning method that suits your preferences. Many people rely on store-bought oven cleaners because they break down heavy residue quickly.
If you’d rather use something gentler, mix baking soda with a little water until it forms a thick paste, then spread it across the interior surfaces while avoiding the heating elements.
Allow whichever cleaner you choose to sit for several hours or overnight. This wait time is the secret to avoiding strenuous scrubbing later.
When it’s ready, wipe the surfaces with a damp cloth, and you’ll find most of the grime lifting away with minimal effort. Any stubborn spots can be tackled with a second application or a little extra pressure.
Don’t forget the oven racks. Place them in a sink or bathtub filled with hot, soapy water and allow them to soak for a few minutes before scrubbing off any remaining residue.
Finish up by cleaning the oven door, as grease tends to leave a cloudy film on the glass. A standard glass cleaner, or a small amount of baking soda paste, usually restores the shine.
Take the Hob Apart for a Deep Clean
Cleaning the hob is more straightforward when done step-by-step. Begin by removing any detachable pieces—such as burner rings or grates—and set them in hot, soapy water to loosen the grease.
While they soak, wipe the hob surface with a damp cloth to get rid of crumbs and loose debris. Once the area is clear, apply a suitable cleaning product across the surface.
Gas hobs require a little extra care to prevent moisture from entering the burner openings, while glass or ceramic hobs need non-abrasive cleaners to avoid scratches.
Give the product a few minutes to soften the grease before wiping everything down with a soft sponge. For patches that refuse to budge, use a small amount of baking soda followed by a light mist of vinegar. The fizzing reaction helps lift stubborn grime without damaging the finish.
After cleaning, go back to your soaked burner parts, scrub away any residue, rinse them well and dry them thoroughly before returning them to the hob.
A clean hob instantly improves the look of the kitchen and shows your landlord that you’ve maintained the property carefully.
Follow a Simple Maintenance Routine
Keeping your oven and hob tidy from day to day prevents grime from becoming a bigger issue later. It helps to wipe away any spills once the oven cools rather than leaving them to harden.
Lining oven trays with foil or baking paper also reduces the amount of scrubbing needed during deep cleans.
On the hob, cleaning around the burners after each use keeps small splatters from settling into sticky rings. Glass surfaces benefit from the occasional use of hob protectors, which shield them from scratches and burnt marks.
By working these small steps into your routine, you avoid facing a thick, stubborn layer of buildup when moving-out day arrives.
Prevent Heavy Buildup Before It Starts
A little forethought goes a long way in avoiding difficult end-of-tenancy cleaning later on.
Cooking with lids on pots and pans reduces splatter and keeps the hob cleaner for longer. In general, checking your trays and dishes while baking can prevent spills that burn into the bottom of the oven.
One more thing you can do is give the hob a weekly degreasing. This is to ensure that residue never has the chance to harden into something more challenging.
A monthly light clean inside the oven, even if you’re not doing a full deep scrub, keeps odours at bay and stops early stains from turning into hard, baked-on patches.
These preventative habits make the final clean significantly less daunting and keep the appliances looking fresh throughout your tenancy.
Consider an End-of-Tenancy Cleaning Service
If you’re juggling packing, paperwork, and moving logistics, tackling the oven and hob on top of everything else can feel overwhelming.
This is where a tenancy cleaning service can be genuinely helpful. Professional cleaners use commercial equipment and specialised techniques to remove heavy grime far more quickly than most people can manage on their own.
They also reach those awkward, easily overlooked areas that might otherwise cause issues during inspection.
Many companies offer service guarantees, meaning that if the landlord requests additional cleaning, the team will return at no extra cost. This level of reassurance often helps protect your deposit while freeing you to focus on the rest of your move.
Conclusion
A clean oven and a spotless hob can make a meaningful difference during your handover inspection.
Whether you choose to roll up your sleeves or bring in experienced cleaners, restoring these appliances to a presentable condition is necessary. This reflects well on you and helps maintain the standards expected at the end of a tenancy.
It is a simple step that safeguards your deposit while giving you a smoother, more confident transition into your next home.